ECOMP 6016 Online
Teaching and Learning with Multimedia
Dr. George Blakeslee
PC or Mac - GIMP Image Editing
** PC or Mac Students -
Post your Tasks 024, 025, 026 and 027 Image Edits as a set of attachments to a reply to the Task 024-027 Discussion Board thread.
GIMP
Download, install and use GIMP, full featured, PhotoShop freeware equivalent
GIMP - Freeware image editing program that can be downloaded from:
This places a GIMP installer on your PC or a disk image file (.dmg) on your Mac
Double-click the installer icon and follow the wizard instructions to install GIMP application in your Programs Folder.
The installer will create a Start > Programs > GIMP listing. You also have the option to place a shortcut on your desktop.
Click either to launch GIMP and complete:
Task 024 resize,
Task 025 crop,
Task 026 rotate, and
Task 027 alter
a portion of an image.
Image Editing with GIMP
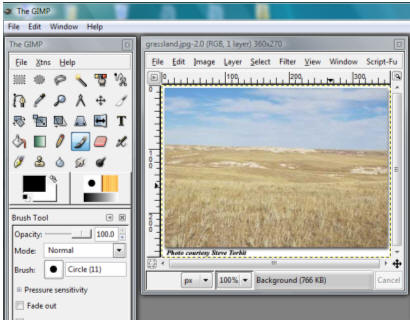
1. Launch GIMP
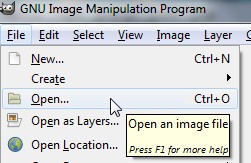
2. Open Image
File > Open
Navigate to saved image and click on filename to select it
Click Open
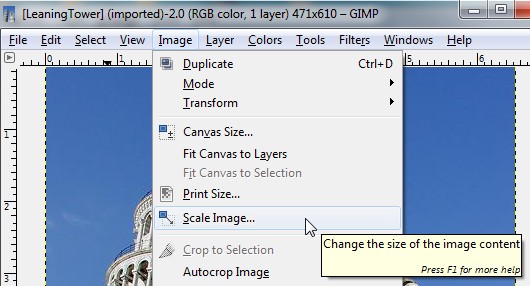
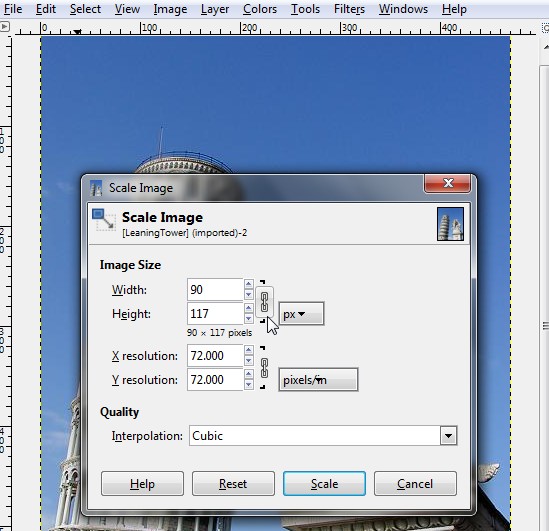
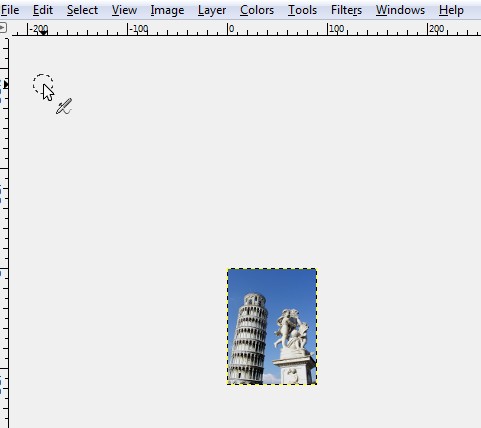
3. Task 024 Resize Image - Create a Thumbnail Image
Click Image > Scale Image
Confirm Width & Height ‘Lock’ is linked together to ‘Constrain Proportions’
Type new Pixel count for either Width (90) or Height (120)
Click SCALE (the other dimension resizes automatically)
Select File > Save As … and save with ‘Task 024 aaa’ filename
4. Task 025 Crop Image
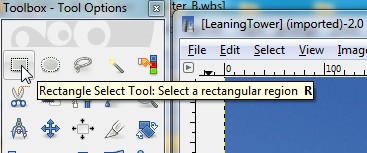
Click on Rectangle Select tool icon
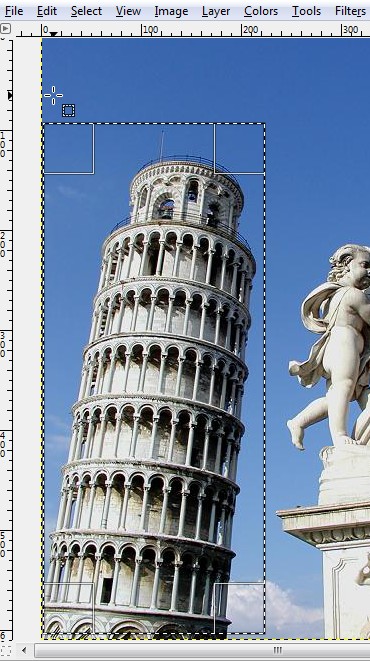
‘click-and-drag’ to Selected an Area of Image
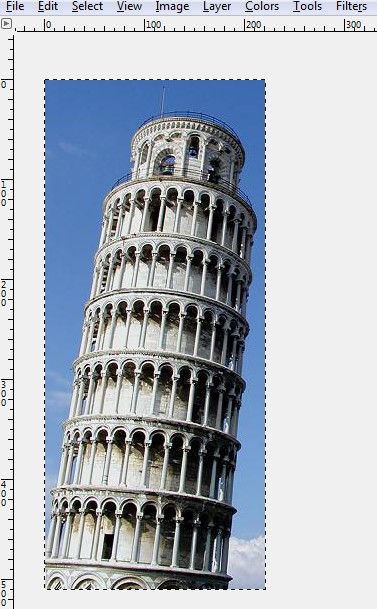
Select Image > Crop to Selection
Image is Cropped, cutting away everything outside Selected Area
Select File > Save As … and save with ‘Task 025 aaa’ filename
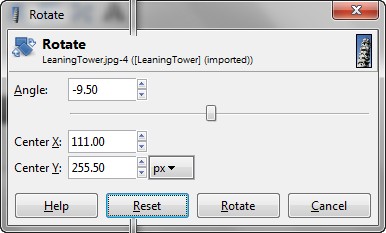
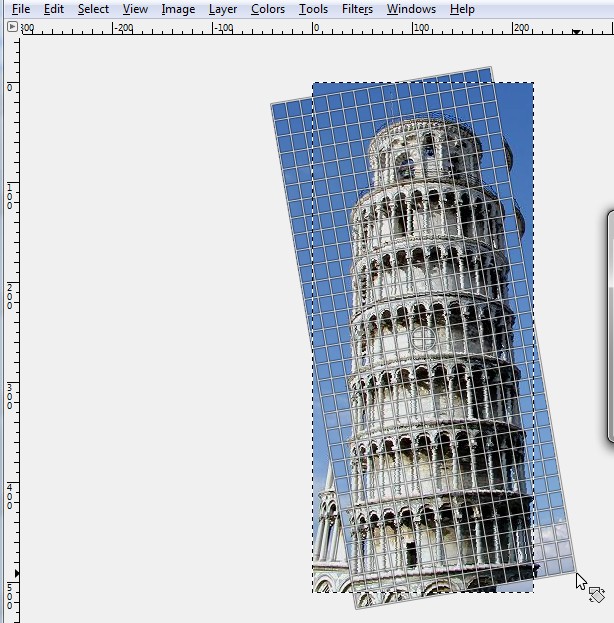
5. Task 026 Rotate Image
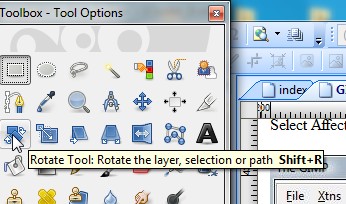
Choose Rotate Tool
Select > All
Select File > Save As … and save with ‘Task 026 aaa’ filename
6. Task 027 Add/Delete Image Elements - Choose 1 of 3 Options
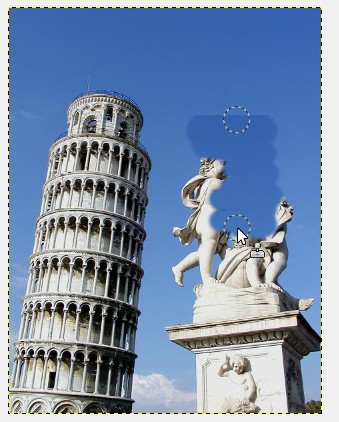
A. Option 1: Delete an Image Element (Clone nearby portion to ‘cover up’)
Open image by using ‘File > Open
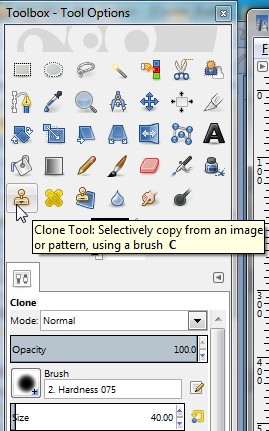
Choose Clone Tool.
Choose Brush Shape.
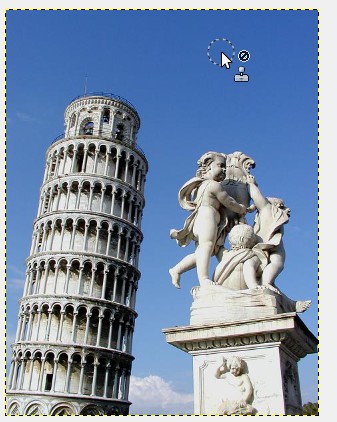
Move cursor to Source point. Ctrl-Click on location you wish to transfer.
Move cursor to Destination point. Click and drag cursor back and forth to transfer source to destination region.
Select File > Save As … and save with ‘Task 027 aaa’ filename
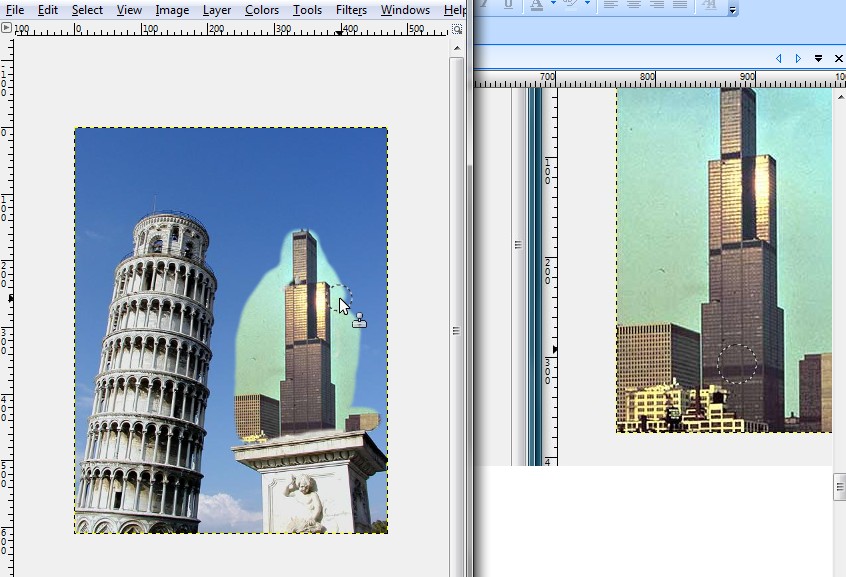
B. Option 2: Add an Image Element (Clone portion to transfer)
Open two images by using ‘File > Open twice in succession.
Resize Larger Image #1 to reduce it to approximate Smaller Image #2 element size.
Choose Clone Tool.
Choose Brush Shape.
Move cursor to Source point in Image #1. Ctrl-Click on location you wish to transfer.
Move cursor to Destination point in Image #2.
Click and drag cursor to transfer source to destination region.
Select File > Save As … and save with ‘Task 027 aaa’ filename
C. Option 3: Combine Images (Transparent Layers)
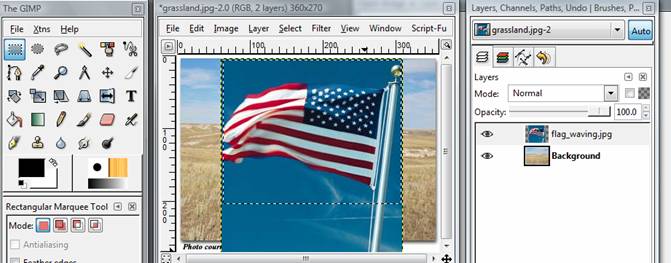
1. File > Open Image #1
2. File > Open As Layer Image 2
3. Click on Image #2 Layer to select (highlight) it.
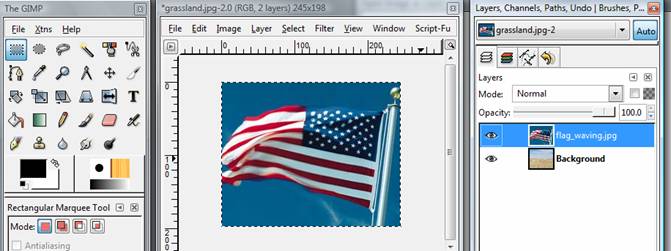
Use Rectangle Selection Tool
Click and drag to select desired portion of Image #2 Layer
4. Image > Crop to Selection
Cropped Image is resized to match Background Image #1 canvas
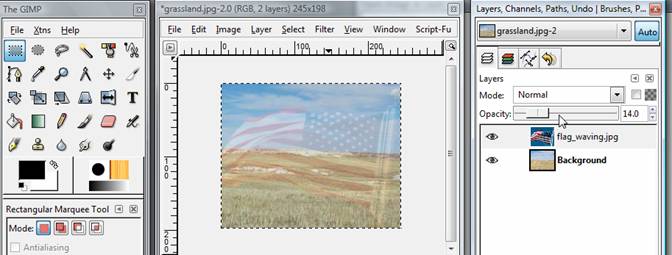
5. Adjust Opacity Slider until Background Image #1 shows through Image #2 Layer
6. Save Combined Image
Select File > Save As … and save with ‘Task 027 aaa’ filename
Video tutorials on downloading, installing and using GIMP are available on Atomic Learning which can be accessed from your myLesley Home page.
Type 'GIMP' in the search box to get a list of tutorials on how to use the various image editing tools in GIMP.
Lesley University, 29 Everett Street, Cambridge, Massachusetts, USA 02138-2790
(c) George Blakeslee All Rights Reserved
Original
Thumbnail
Click on Image and drag to rotate
or type an Angle of Rotation in the Rotate dialog box
